


The usage of contouring palette is to use the fingertips to take the color, and use the temperature of the fingertips to apply it to the place where it should be applied and pat it open.
When using the contouring palette, first draw the position of the root of the nose, which is the darkest place of the nose shadow. It should be smudged to the eyebrows, and the transition with the eyebrows should be natural. Then draw to the nose wing, sweep in one direction, do not sweep back and forth. The nose tip should also be modified to make the shape clearer and more three-dimensional. Brush the shadow on the edge of the forehead and push it to the hairline.
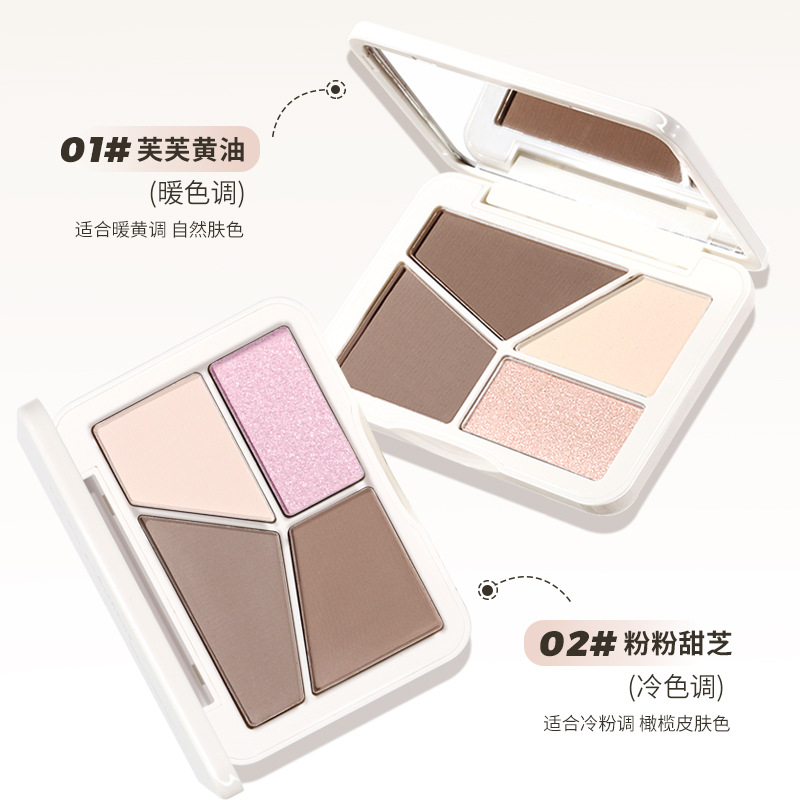
The light brown in the middle of the contouring palette can be used as the base color for the eyes and apply it on the upper eyelid. Next, use dark brown to apply from the edge of the cheekbone to the chin. Then use dark brown to apply the upper eyelid, overlap with light brown near the back half, and apply beige in the middle of the eyeball.
Precautions for using the contouring palette
Contour palettes are divided into paste and powder. The paste needs to be dipped with the fingertips or beauty egg, dotted to the place where blemishes need to be concealed, and then gently patted open. Be sure to moisturize before using the contouring palette. Prevent powder from sticking and floating.
Powdered ones need to be dipped with a makeup brush. Be careful to apply a small amount multiple times, and gently sweep over the areas that need contouring. Generally, contouring is the last step of the base makeup. Don’t use too much, otherwise it will easily make the makeup look too dirty.
1. Full forehead
The contouring range is a circle around the edge of the forehead, avoiding the center of the forehead. Be careful not to brush the temples, as the temples will look old if they are sunken. Draw the highlight in the center of the forehead with a wide top and narrow bottom shape and blend it naturally.
2. Three-dimensional nose shape
Shadows are applied to the triangle area connected to the eyebrows and the root of the nose. Don’t be too heavy, and add layers one by one. The highlights extend from the center of the eyebrows down to the tip of the nose, and adjust the width according to your nose shape. Draw a V-shaped pen tip on both sides of the nose, which has the effect of shrinking and sharpening.
3. Lip plumping and thin chin
The shadow area is above the lower lip, which can visually have the effect of plumping the lips. Apply highlights on the lip beads, and the lips will pout. Brush a small area on the chin that is wide at the top and narrow at the bottom, and blend it out, which has the effect of becoming sharper and longer.
4. Side shadow
The side shadow should be applied in the middle of the cheekbones, and those with high cheekbones can apply it above the cheekbones. Find your jawline and apply it lightly to create a light and dark boundary effect, which makes you look thinner. Apply the highlight two centimeters below the eyes and blend it.
Post time: Jun-14-2024


